WoW Classic Naxxramas Guide
With the return of Naxxramas to
classic WoW, we know that veterans are more than intrigued at the opportunity
to take on one of the most difficult raids ever constructed. Not to mention to
get your hands on some of the best rewards ever offered in the game. Players who purchase their WoW classic accounts may
not be prepared for the challenges of Naxxramas. Do you think you might be a little
rusty? A few tips will definitely give
you an edge that you are going to need. Or did you forget the part where we
said this one of the hardest raids of all time?
A simple
warning to start. Naxxramas is not meant to be attempted without a full level
group with a 2 to 2.5 equipment rating. Anything less than that will simply not
be able to survive. Additionally, you are going to need equipment with some
specific resistances. Nature and Frost are going to be the most essential to
your survival of the raid, with a less but still important emphasis on shadow
and fire resistance. Set yourself up with these considerations in mind and you
stand a fighting chance in this raid. If
you choose to sell a WoW classic account that is fully prepared for Naxx, it will fetch a
good price since acquiring the proper resist gear is not easy.
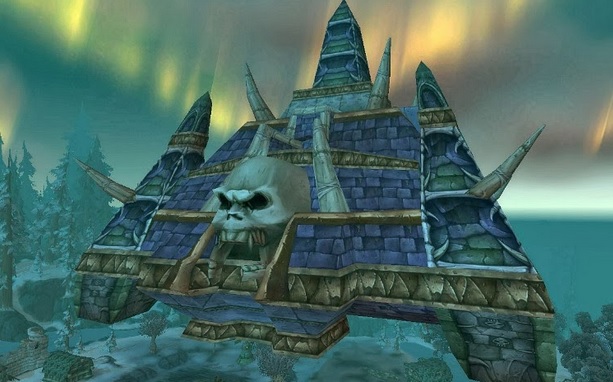
Naxxramas is
designed like a giant wheel, with players entering in the center and getting to
choose the order in which they progress. There are four initial wings, with
four different bosses and themes. The wings do range in difficulty, so we will
break them down in order from easiest to most difficult. We will also mostly
cover the main boss since that is the fight that will require the most strategy
on your part.
The first
wing your group should start with is the abomination wing. This wing is heavy
with physical damage, thanks to all the abominations, and a healthy dose of
nature damage from some slimes. The boss of this realm is Blizzard’s
Frankenstein homage, Thaddius. Thaddius has two phases. The first phase has the
party facing off against a pair of wights. Each wight has a unique ability that
deals AoE damage, with one of them specifically being able to mana drain, so
divide the group based on their need for mana. Kill them quickly, they can
resurrect one another, and this will begin phase 2. Phase two requires planning
on the part of the party, as Thaddius will debuff the entire party as either
“positive” or “negative” charge. This debuff will do high damage to party
members of the opposite charge and buff players of the same charge within ten
yards so you need to organize spots for players before the start of phase 2.
Your charge will also change mid-fight so keep an eye on that or you’ll kill
your teammates. Stay focused on avoiding damaging each other and you’ll come
out victorious.
The second wing
you should attempt is the plague wing, guarded by various diseased enemies and
the powerful fungal monster Loatheb. Loatheb is deceivingly simple, as the key
to beating him is surviving his massive amounts of DPS long enough to defeat
him. Your healers should be focused on counter-acting Loatheb’s damage dealing
aura and poison AoE, which means individual players need to focus on healing
the other damage caused by spores and Impending Doom. You’ll need a lot of
consumables prepared for this fight. Secondary groups will also be necessary to
get rid of all the spores Loatheb constantly spawns the entire fight before
they overwhelm the party. This is a tough fight but if you are vigilant and
well-stocked you’ll make it out.
 Next is the
spider wing and the beast of a boss, Maexxna. Two key points to the strategy of
beating this big spider, timing, and positing. One main tank should be pulling
Maexxna with the rest of the party positioned behind the boss with the wall to
their back. This will not only make it easy to kill the spiders spawned by the
boss but make sure that the knockback doesn’t push any party members outside of
the healers’ range. Maexxna will cast their web stray ability every 40 seconds
and much of the party’s attention will have to focus on not letting this
ability kill other party members instantly and getting them unwebbed/uncocooned
ASAP before the long term damage or spawned spiders kill them. Get the hang of
the timing on this fight and you should make it through.
Next is the
spider wing and the beast of a boss, Maexxna. Two key points to the strategy of
beating this big spider, timing, and positing. One main tank should be pulling
Maexxna with the rest of the party positioned behind the boss with the wall to
their back. This will not only make it easy to kill the spiders spawned by the
boss but make sure that the knockback doesn’t push any party members outside of
the healers’ range. Maexxna will cast their web stray ability every 40 seconds
and much of the party’s attention will have to focus on not letting this
ability kill other party members instantly and getting them unwebbed/uncocooned
ASAP before the long term damage or spawned spiders kill them. Get the hang of
the timing on this fight and you should make it through.
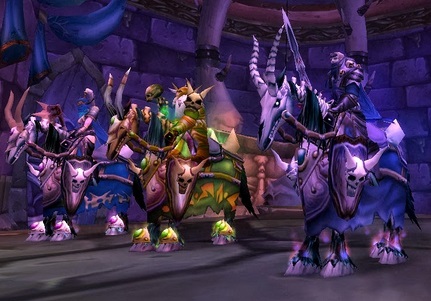
The last of
the original four wings is the deathknight wing and the Four Horsemen boss, an
extremely challenging fight. The primary ability of the Four Horsemen is their
ability to stack marks that inflict unavoidable shadow damage. The party’s
tanks need to separate the Horsemen right away or their combined damage will
overwhelm the party. Once the Horsemen are in separate corners, the tanks need
to hold their attention but keep rotating between the four of them or stacked
marks will kill the tank. The coordination on this one is essential and
unforgiving, but if you stick to it you can beat these four, just don’t expect
it to be easy.
Once the
four original wings are cleared out, it will open the way to the final and
fifth wing. Only one thing stands between you and the final boss of Naxxramas
and that is the undead frost wyrm Sapphiron. Sapphiron is truly an awesome
fight. A battle that will require two very important things to overcome. The
first is a lot of frost resistance. As much as you have access to, you are
going to need it. The second is a lot of healers. Make sure to take advantage
of the ice blocks to avoid Sapphiron’s damage or you won’t last long.
You’ve made
it to Kel’Thuzard, the hardest boss of the hardest raid in the history of WoW,
arguably. Survive his first phase by gathering in the middle and avoiding the
very possible party wipe caused by the undead soldiers he spawns. The 2nd phase
is when Kel’Thuzard spawns and the party needs to be on top of their interrupt
game of this boss can wipe you easily with a few different chain abilities.
Spacing is also essential for this reason, space the party well or he will kill
off tons of players at once. The last phase is the same as the 2nd except
Kel’Thuzard will summon guardians, powerful minions that will require tank
attention and divert them from Kel’Thuzard making this section even trickier
than phase 2. Stick with the strategies and make sure to shackle the guardians
and you should be able to finish off the necromancer.
Follow these
tips and you will be well on your way to conquering one of the hardest raids
that the Blizzard team has ever conceived.